Embarking on the journey of creating an online store with Shopify, you may encounter a plethora of questions regarding where to start and how to execute your vision effectively. Your pursuit of a comprehensive guide ends with the “Shopify Website Design Tutorial – Shopify Tutorial for Beginners,” a video designed to illuminate the path for both novices and savvy e-commerce adventurers alike. Inside this tutorial, you will discover a coherent roadmap guiding you through the selection of a Shopify plan, the intricacies of theme choice, product addition, and the vital aspects of customizing your store to reflect the essence of your brand.
Armed with precise instructions and professional advice, this tutorial empowers you to forge an aesthetically pleasing and functional Shopify website. With an emphasis on practical marketing strategies to elevate your newly constructed digital storefront, the tutorial ensures that by its conclusion, your skillset will have expanded to confidently manage and grow your online enterprise. Furthermore, as your educational odyssey continues beyond the initial setup, the video also points you toward additional resources and tutorials, ensuring your continued development in the digital commerce space.

Understanding Shopify Plans and Pricing
An overview of Shopify plans for different business sizes
You will find that Shopify offers a tiered suite of pricing plans to accommodate businesses of varying sizes and needs. Each plan comes with its unique set of features, and as your business grows, you can easily upgrade to a plan that better fits your growth trajectory. For small businesses just starting out, the Basic Shopify plan may be the ideal choice, while larger businesses may opt for Shopify or Advanced Shopify plans which offer additional features such as advanced report building and third-party calculated shipping rates.
How to take advantage of the promotional price for beginners
As a beginner to Shopify, you can take advantage of the promotional price that often allows you to trial the platform at a reduced cost. Promotions such as the $1/month offer for the first three months, provide you with an affordable way to test drive Shopify’s features and get your business up and running.
Comparing updated Shopify pricing plans for 2023
In 2023, Shopify continues to update its pricing plans, ensuring that they stay competitive and packed with valuable features. Comparing these plans is crucial so you can select the one that offers the best value for your specific requirements. Understanding the updated transaction fees, staff account limitations, and any new features added to the plans will inform your decision-making process.
Setting Up Your Shopify Account
A step-by-step guide to signing up
To sign up for Shopify, start by going to their official website and clicking on the ‘Start free trial’ button. You’ll need to provide some basic information about your business, including your email address, password, and store name. Follow the prompts to complete your account registration.
Using the promotional link to get a discount
If there’s a promotional offer available, such as the special price of $1 for the first three months, make sure to sign up through the promotional link to qualify for the discount. This link can normally be found on Shopify’s homepage or in promotional emails.
Navigating the initial setup process
After signing up, you’ll be directed to your Shopify admin dashboard. Here, you’ll be guided through the initial setup process, which involves adding products, customizing your theme, setting up domains, and configuring your payment and shipping settings.
Choosing the Right Shopify Theme
How to navigate to the ‘Themes’ section
From your Shopify admin dashboard, navigate to the ‘Online Store’ section and click on ‘Themes’. This area allows you to manage and customize the look of your online store.
The importance of theme selection in branding
Choosing the right theme is pivotal in ensuring that your online store reflects your brand identity. It should align with your brand colors, typography, and overall aesthetic. The theme should also provide the right functionality to offer the best user experience to your customers.
Changing the default theme and exploring the theme store options
The default theme on Shopify is typically ‘Debut’ but you are free to change it. Browse through the theme store to explore both free and paid themes that could be a better fit for your brand. Consider the kind of customer interaction and the features you’ll need before making your choice.
Importing themes from external sources like GitHub
If you’ve found a theme outside of Shopify’s theme store, such as on GitHub, you can import it into your Shopify store. Within the ‘Themes’ section, you’ll find an option to upload a theme. Here, you can add the .zip file of your theme and it will be integrated into your store’s theme library.


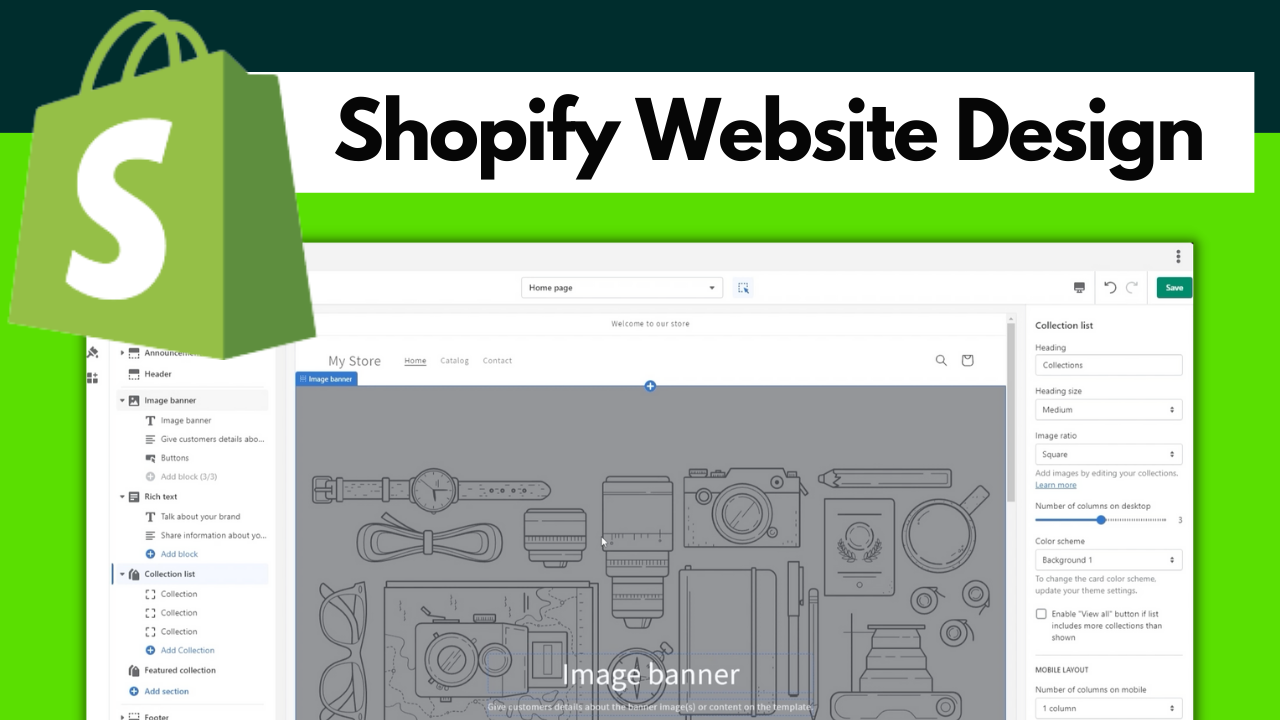
Customizing Your Shopify Website Design Theme
Accessing the theme customization tools
Once you have chosen a theme, click on the ‘Customize’ button next to your theme’s thumbnail to access the live theme editor. This tool provides a visual interface where you can modify your theme directly.
Adding, removing, and rearranging sections
Within the theme editor, you can add, delete, or move sections to structure your page layout. Sections are individual content blocks that can include product listings, slideshows, banners, and much more. You can drag and drop sections to reorder them according to your preference.
Customizing visuals such as banners, text, and buttons
The theme editor also allows you to customize visual elements such as banners, text, and call-to-action buttons. Upload your branding assets, and use the editor’s settings to match your brand’s color scheme and typography. This consistency in design helps build brand recognition and trust.
Adding Products and Collections to Your Store
Navigating the process of adding products
In your Shopify admin, navigate to ‘Products’ and then click ‘Add product’. You can add product details, images, pricing, and inventory information here. Each product entry is an opportunity to optimize for SEO with product descriptions rich in keywords.
Organizing products into collections
Collections help you organize your products into categories, making it easier for customers to find what they’re looking for. You can create collections by navigating to ‘Products’ and then ‘Collections’, and setting up either manual or automatic collections based on conditions you define.
Best practices for product descriptions and imagery
High-quality images and detailed descriptions are key for online sales. Ensure that your product photography is clear and professional. For descriptions, be descriptive and convincing, highlighting the benefits and features of the product. Use bullet points for better readability and always include product variants such as sizes or colors.
Designing Your Store’s Layout
Understanding the significance of layout
Your store’s layout is the structural foundation of the user experience. A well-designed layout leads customers smoothly from the homepage to checkout, minimizing obstacles and distractions. It’s important that this flow feels natural and intuitive to shoppers.
Editing the header, footer, and announcement bar
Your Shopify theme’s header and footer are critical for navigation and brand consistency. The header often contains your main menu and logo, while the footer can include additional navigation, contact information, and social links. The announcement bar is a strategic tool for communicating important messages like sales or shipping policies.
Creating a user-friendly navigation structure
Design your store’s navigation to be as simple and user-friendly as possible. Think about how your customers will search for products and structure your menus to facilitate this. Keep the number of menu items manageable so as not to overwhelm your visitors.
Setting Up Menus and Navigation
Editing the main menu
In your Shopify admin, go to ‘Online Store’, then ‘Navigation’. Here you can edit your main menu, which is typically positioned at the top of your store. Add or remove items, and ensure that your menu choices make it easy for customers to find what they’re looking for.
Adding pages to the footer menu
The footer menu is a good place for links that are important but don’t require prime placement in the main menu. You can add items such as your return policy, FAQs, contact information, and links to your blog or about us page.
Creating a dropdown menu and organizing collection pages
Dropdown menus help keep the storefront organized and clean. You can create them within the navigation settings by nesting menu items under a main category. They’re especially useful for stores with a large number of collections or categories.
Incorporating Social Media and Contact Links
Adding social media icons
Social media icons serve as gateways to your online communities. You can add these to your store by customizing your theme settings. Place social media icons in visible but unobtrusive locations such as the footer or header.
Configuring site settings for social links
To ensure the icons link to your social profiles, configure your site settings by adding your social media URLs. Double-check these links to ascertain they are correct and lead to the intended profiles.
Ensuring your contact information is clear and accessible
Your contact information should be transparent and easy to find. Include an email address, phone number, or contact form within the footer or a dedicated ‘Contact Us’ page to foster trust and provide a direct line of communication.
Previewing and Launching Your Shopify Store
How to preview your store design
Before going live, use the preview feature in Shopify to see how your store looks and functions. This allows you to catch any issues and make necessary adjustments before customers see your site.
Final checklists before launch
Go through a final checklist to ensure all details are in place. Confirm that all products are correctly listed, all links are working, your domain is connected, and your payment gateway is set up. It’s also wise to ensure your return policy and terms of service are clearly stated.
Launching and viewing the live store
To launch, remove the storefront password under ‘Online Store’ settings, and your store will be publicly accessible. Navigate through your live store to ensure everything works as expected and that the user experience is seamless.
Conclusion
Recap of the steps covered in the tutorial
You’ve learned how to select a Shopify plan, set up your account, choose a theme, and customize it to match your brand. Moreover, you’ve added products and collections, designed layout and navigation, incorporated social media, and are now ready to launch.
Encouragement to practice and explore further
Building a successful online store requires continuous learning and experimentation. Keep practicing, explore the many features Shopify has to offer, and make use of analytics to refine your strategies.
Reminder to like and subscribe for more Shopify content
If you found this tutorial valuable, remember to like and subscribe for more insightful content on Shopify. Consistently updating your knowledge will enable you to keep your online store at the pinnacle of e-commerce excellence.


